The command-line computer world is one where productivity and multitasking are essential. Linux users frequently find themselves juggling many projects at once, which is when a utility like “Screen” comes in handy. With the help of the potent terminal multiplexer Screen, you can combine different virtual terminal sessions into a single terminal window. It resembles having several tabs or windows open in your terminal, each of which has a running task. Our trading server gives greater accessibility with forex VPS for your website to operate from anywhere you want.
Learning how to install and utilize Linux Screen may greatly increase your productivity, whether you’re a sysadmin looking after remote servers, a developer juggling several projects, or just someone who wishes to arrange their terminal routine better. Apart from that, We configure the control panel vps server with web host manager (WHM) which allows virtual hosting to manage multiple websites.
Users have the opportunity to open multiple distinct terminal instances inside of a single terminal window manager thanks to Linux Screen. Additionally, Screen has an improved command line that offers you more capabilities and usefulness than a regular command line. To add or remove loadable kernel modules modprobe command in Linux is used and understand how it has been used with options, examples, and steps.
Installing Screen under Linux
The screen is probably already installed if you’re using a recent Linux distribution like CentOS 8 or Ubuntu 20.04. To confirm that Screen is installed, use the command to check the version:
screen –version

Screen Installation on CentOS
Enter the following Command to Install Screen on Red Hat or CentOS:
yum install screen
Screen Installation on Debian or Ubuntu
Enter the following to Install Screen on Debian/Ubuntu:
sudo apt install screen
Examples of How to Use a Linux Screen
The most used Screen commands are shown below, along with usage examples.
Linux Boot Screen
Run the following command to launch Linux Screen and begin a screen session:
screen
A brief license agreement is shown on the screen before the first startup. To go on to the following page, press Space.
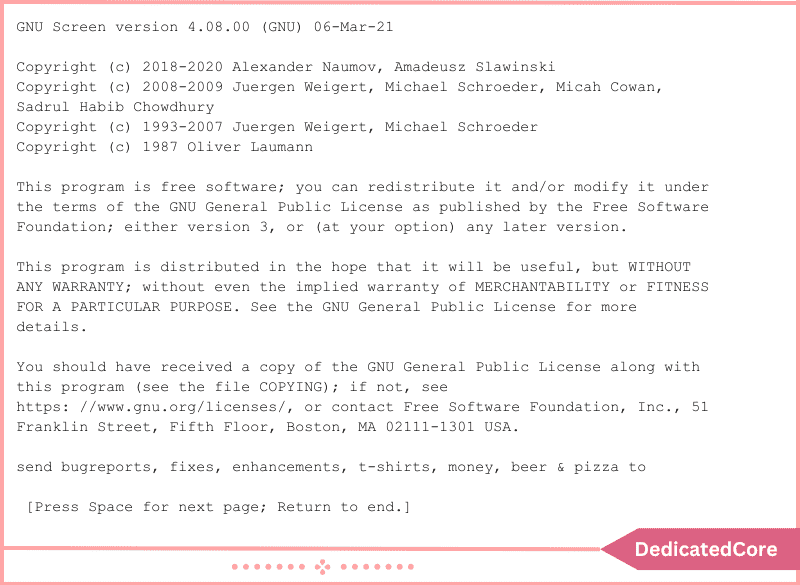
For a fresh screen session, press the Space key once more.
The system disconnects and displays a command line that resembles a standard terminal window.
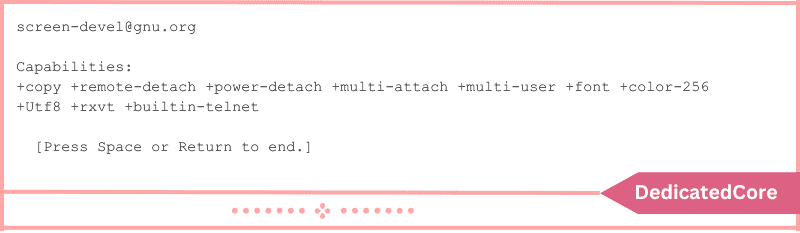
Use Screen keystrokes to handle screen shells (often Ctrl + a, then another key). Press Ctrl + a, then? Which will show the commands list that are available.
Known as Sessions
It is advised to give each session a name while using Screen. If you are running many screen sessions, this makes it easier to keep track of instances.
Use the command: to start a new session and give it a name.
screen -S session_name
For instance, you would run: to create a session called upgrade.
screen -S upgrade
Making Use of the Linux Screen
The moment the Screen is launched, a window with a shell is created inside of the screen session. Windows can be added, switched, and managed with command keystrokes.
The keystrokes that are most frequently used are:
- Open a new screen window by pressing: Ctrl + A and C.
- List all windows that are open with the keyboard shortcuts: Ctrl + a and “.
- To switch to window 0 (or any other numbered window), use: Ctrl + a and 0.
- Rename the current window by pressing: Ctrl + a and A.
- Split the screen horizontally with the active window on top by using the keys: Ctrl, A, and S.
- Split the screen vertically with the active window on the left by pressing the keys: Ctrl + a and |.
- Switch between the split-screen regions by pressing the keys: Ctrl, A, and Tab.
- Switch between the current and previous windows using: Ctrl + a and Ctrl + a.
- Toggle to the next window by pressing: Ctrl + A and N.
- Switch to the previous window with Ctrl + a and p.
- To close all other windows besides the one you’re in, press: Ctrl + a and Q.
- Current window lock: Ctrl + a and X.
- Create a running session log by pressing the keys: Ctrl + a and H.
- A notification appears when a window has activity when you press the keys: Ctrl + A and M.
Removing and Replacing the Screen
Use the keystroke: Command + a and d: to disconnect from the screen and keep the window open in the background.
The command closes the interface and terminates the process running on the Screen. The same thing happens when a window is minimized in a graphical operating system.
Use to reconnect to an active screen session.
screen -r
You don’t have to enter the session ID if you only have one instance of Screen. You must specify which session ID you want to reconnect to if you have more than one.
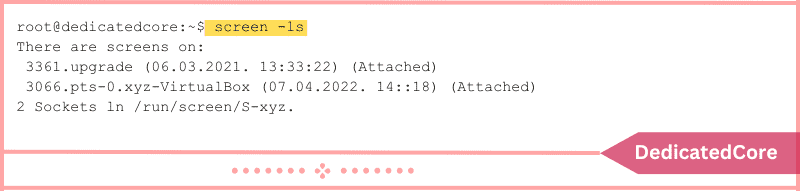
With the command screen -ls, you may view the list of session IDs. Each screen session has a unique ID.
Add the ID to the screen -r command once you have it.
screen -r sessionID
Run these commands, for instance, to fix screen 3361.upgrade
screen -r 3361.upgrade
Screen Locking and Password Adding
Use the shortcut to lock the screen: Ctrl + a, and x
To unlock the screen, the default lock screen technique requests your Linux password.

Additionally, Screen lets you set a session’s password for security. You must enter the chosen password each time you want to reconnect to the screen. Run the following command to create a password-protected screen:
password your_password
Change your password for a reliable password of your choosing. The next time you attempt to reconnect to the password-protected screen, you will need to provide two passwords: your Screen password and your Linux password.
Changing Screen
The screen makes use of a programmable configuration file, like many other Linux programs. The system configuration file is located at /etc/screenrc. /.screenrc contains the user’s configuration file.
Open the file to edit:
sudo nano /etc/screenrc
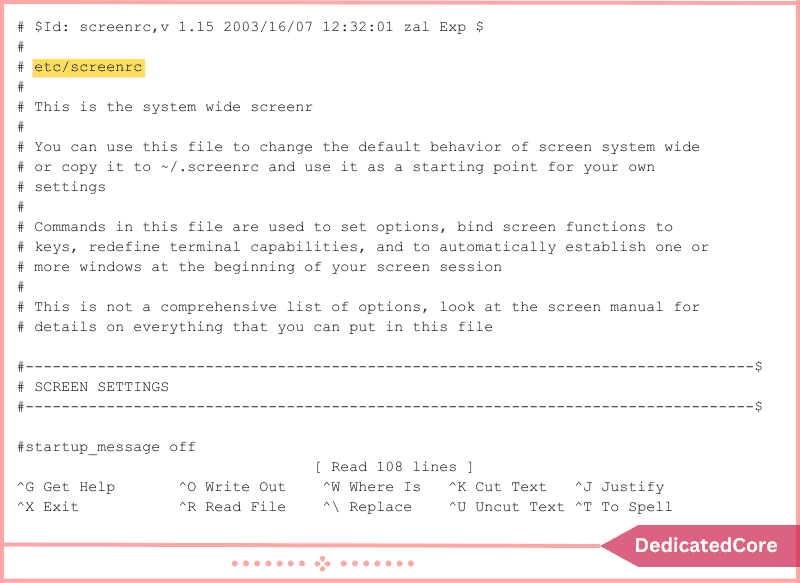
By deleting the comment (#) symbol at the start of the line, you can toggle the majority of the options.
Final Words on Installing Linux Screen and How to Use It !!
You learned how to install the Linux screen in this article, along with some of the fundamental instructions. When you become proficient with the screen interface, you may move between many terminals, multitask, and work more quickly. To sum up, Linux Screen is a flexible and essential tool for everyone who works frequently in the command line.
It offers a versatile and effective method for controlling many terminal sessions, making sure that your work is completed without interruption even if your connection is lost. You’ll be well-equipped to optimize your workflow, make multitasking simple, and get the most out of your Linux terminal experience by understanding the commands and methods described in this article. Install Screen, get familiar with its commands, and start reaping its productivity rewards when using Linux regularly.