Is anyone interested in Linux programming? software development should start by installing the GCC (GNU Compiler Collection) on Ubuntu. You may build and execute programs written in C, and C++. Also, other programming languages use the robust compiler suite GCC. This guide will show you how to install GCC on a Ubuntu. A step-by-step so that you have all the tools you need to start writing and creating software immediately. For a seamless installation process of the powerful programming language Go (Golang) check. Inspect the manual on how to Install Go (Golang) on Ubuntu Linux 22.04, which provides a detailed guide.
Ensure your web applications stay secure and efficient by tracking the detailed steps of upgrading PHP version 8.1 to 8.2 on Ubuntu. A free software compiler system called GCC (GNU Compiler Collection). That can compile some computer languages including C, C++, Objective-C, and Fortran. A trustworthy compiler like GCC is necessary for programmers. Who wants to create C or C++ applications on a Linux-based platform?
Precondition
- Installed is Ubuntu 20.04 or 22.04.
- Access to a command line or terminal window.
- An individual with root or sudo rights.
How Do I Install GCC on Ubuntu?
On Ubuntu, installing the GCC Compiler is a simple procedure. Begin by opening the Terminal on your Ubuntu machine. Next, run a command to make sure your package lists are current. Next, run a short program to install GCC. Verify the GCC version to make sure the installation was successful. Now that you’ve finished, your Ubuntu system has the GCC compiler installed. You’re prepared to create, compile, and run C and C++ code for your programming projects. The best way to install GCC on Ubuntu depends on your customization requirements. Else whether a project needs a particular GCC version. To get out of corrupt data, and free up disk space the clear yum cache can be useful for you.
Medium 1: Installing GCC Compiler from Ubuntu Repositories in this Method.
The apt package manager is the quickest way to install GCC on Ubuntu. Nevertheless. There are drawbacks to installing GCC from the Ubuntu repositories, including a lack of customization options and potential dependency conflicts. Apart from this, Our private server offers improved speed by switching to NVMe for faster data access and efficiency.
GCC compiler installation through Ubuntu repository:
Step 1: Update Package Repository
Use the command below to update the Ubuntu package repository:
sudo apt update
Step 2. Install build-essential Package
Install the package known as build-essential:
sudo apt install build-essential
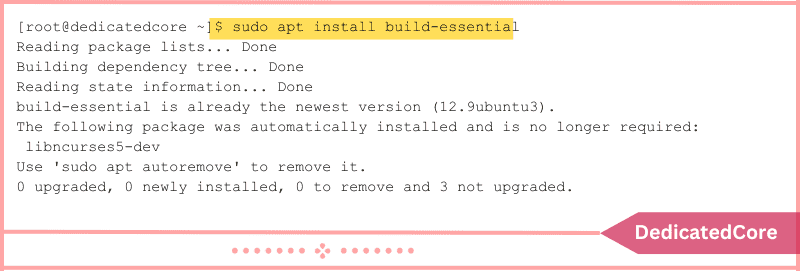
The GCC compiler, along with other tools needed for software development, is included in the build-essential package.
Step 3: Determine GCC Version
To determine the GCC version, use the command:
gcc --version

In this case, the GCC version is 11.4.0.
Medium 2: Installing several GCC Versions on Ubuntu using this Method
Users can install a certain GCC version (or multiple GCC versions) quickly and easily by using GCC PPAs (Personal Package Archives).
To do this:
Step 1: Update Repository First
Update the repository for Ubuntu packages:
sudo apt update
Step 2: Install Software-Properties Common Package
Execute the following command to install the software-properties-common package:
sudo apt install software-properties-common
Step 3: In the Below Step Include the GCC PPA
Include the GCC PPA, which contains every GCC compiler version:
sudo add-apt-repository ppa:ubuntu-toolchain-r/test
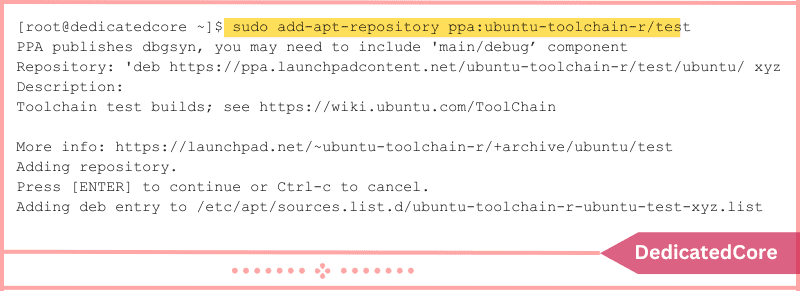
Step 4: Now, Add the PPA Packages
Add the PPA packages to the updated package list:
sudo apt update
Step 5: The next thing is to Install One or More GCC Versions
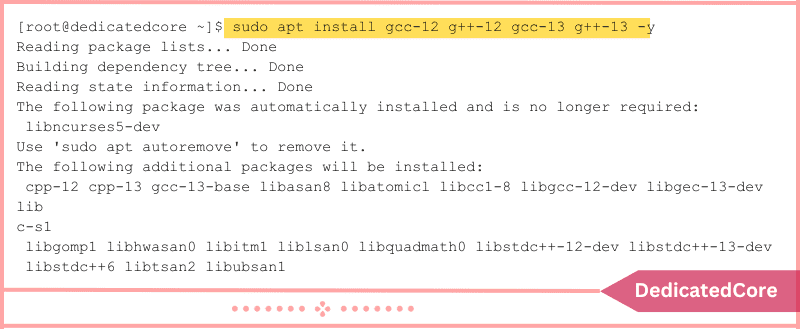
Use the command listed below to install one or more GCC versions. For instance, type: to install GCC 12 and GCC 13.
sudo apt install gcc-12 g++-12 gcc-13 g++-13 -y
Step 6: Solution to Handle Several GCC Versions
Users can handle several GCC versions with the update-alternatives tool: The update-alternatives filesystem should now include the GCC 12 alternative.
sudo update-alternatives --install /usr/bin/gcc gcc /usr/bin/gcc-12 12 --slave /usr/bin/g++ g++ /usr/bin/g++-12
The update-alternatives filesystem should now include the GCC 13 alternative.
sudo update-alternatives --install /usr/bin/gcc gcc /usr/bin/gcc-13 13 --slave /usr/bin/g++ g++ /usr/bin/g++-13
Step 7: Switch Between Installed GCC Versions
To switch between the installed GCC versions, use the update-alternatives tool:
sudo update-alternatives --config gcc

The system prompts the user to choose the default GCC version from a list of the installed GCC versions. For the version you wish to use, enter the selection number.
Step 8: Determine the Most Recent GCC Version
Use the following command to determine the most recent GCC version:
gcc --version

In this example, the default GCC version is 13.1.0.
Medium 3: Install GCC Compiler from Source on Ubuntu
A sophisticated installation technique that enables users to alter the GCC configuration is building GCC from the source. Additionally, you can modify GCC’s install sites or tailor it to a particular piece of hardware.
Installing the GCC compiler and obtaining the GCC source code from authorized repositories:
Step 1: First of all, Install Required Dependencies
Run the Command below to Install the required Dependencies:
sudo apt install build-essential
Step 2: Now, Install Packages
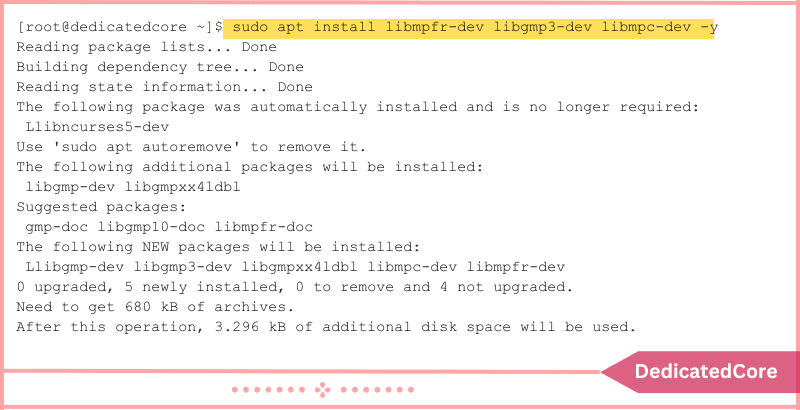
To help with GCC source compilation, install the libgmp3-dev, libmpfr-dev, and libmpc-dev packages:
sudo apt install libmpfr-dev libgmp3-dev libmpc-dev -y
Step 3: Using Wget Command, Download the GCC Source Code
Download the GCC source code from the GCC website using the wget command. The source code for GCC version 13.2.0 is present in the file gcc-13.2.0.tar.gz in the following example:
wget http://ftp.gnu.org/gnu/gcc/gcc-13.2.0/gcc-13.2.0.tar.gz
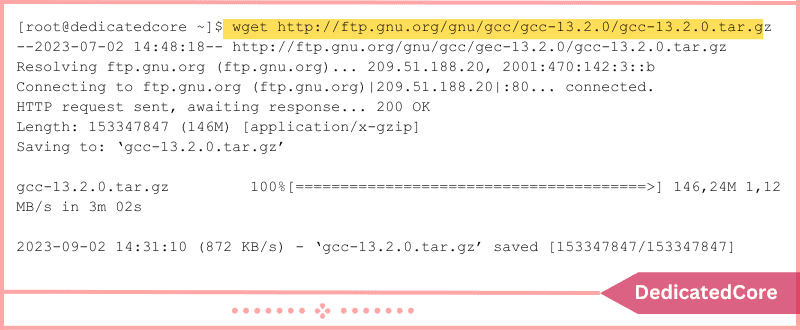
To reflect the GCC version you want to install, change the URL in the command.
Step 4: Extract the GCC Build Files
Utilize the following command to extract the GCC build files:
tar -xf gcc-13.2.0.tar.gz
Step 5: Open Directory of GCC using Command Below
Open the directory of the GCC with the following command:
cd gcc-13.2.0
Step 6: Setting Up the GCC Build’s Options
Set the GCC build’s options:
./configure -v --build=x86_64-linux-gnu --host=x86_64-linux-gnu --target=x86_64-linux-gnu --prefix=/usr/local/gcc-13.2.0 --enable-checking=release --enable-languages=c,c++ --disable-multilib --program-suffix=-13.2.0
To explore the options available and suggested configuration methods, go to the official GNU GCC configuration page.
Step 7: Use the “make” Command to Launch the GCC Build Process
Launch the GCC build process using the make command:
make -j3
It can take a long time and a lot of resources to complete the build process. The j3 instruction instructs the machine to perform the task using three cores. Adapt the number of cores to the setup and capabilities of your system.
Step 8: Install GCC Once the Previous Procedure is Done
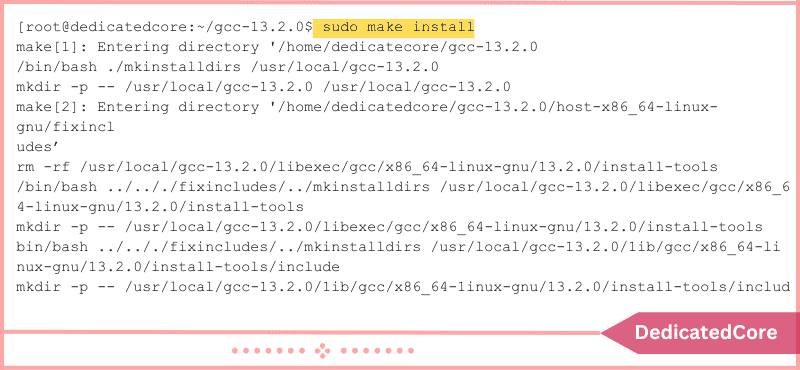
Once the building procedure is finished, run the following command to install GCC:
sudo make install
Step 9: Finally, Check GCC Version
Type the command below to check the GCC version:
/usr/local/gcc-13.2.0/bin/gcc-13.2.0 --version

The installation of GCC 13.2.0 has been verified by the system.
Final Words on Install GCC Compiler on Ubuntu
As a programmer or developer, install the GCC compiler on your Ubuntu system. It is an essential first step. You may compile and execute code written in a variety of programming languages using GCC’s extensive toolkit. You’ve given yourself the necessary tools to delve into the realm of Ubuntu. Software creation by following the simple steps suggested in this guide. Choose a vps server to grow with USA-Centric hosting which offers faster loading time and customizable options.
Your creativity and problem-solving abilities may now be fully unleashed. Hope you understand install gcc for Ubuntu here in detail. As you develop, assemble, and run your programs with assurance. You now understand how to use three distinct techniques to install the GCC compiler on Ubuntu. Using GCC on an Ubuntu machine enables you to do a wide range of programming. Also debugging, and system administration operations, as well as compile and run C and C++ code.
Frequently Asked Questions (FAQ)
1. What is the purpose of the GCC compiler?
There are many goals of the GCC compiler as used to compile source code in programming languages. The languages such as c, c++, etc into executable programs. It also ensures compatibility on different systems. It is been used for debugging programs written in c, c++, and other programming languages.
2. How to check the GCC version installed?
There are various methods to check the current version of GCC and the best could be by entering the command below:
There are certain steps to check the version of GCC as soon as the terminal opens enter the command: “gcc -version”. This can help you in displaying a current GCC version.

