A critical first step for granting remote access to your machine on Ubuntu is to enable SSH (Secure Shell). SSH is a crucial tool for system administrators, developers, and users. Who needs remote control and file transfers since it offers a safe? Secure means to connect to your Ubuntu machine from another device.
We will walk you through the process of enabling SSH on Ubuntu. On your Ubuntu system in this blog post to ensure a quick and secure connection. Security is the main priority while establishing a remote connection between a client and a server.
The most effective method for Linux users to access and manage a server is using Secure Shell (SSH). a cryptographic protocol. SSH encrypts all information passed from one machine to another. Ensuring that no private data is compromised. You may securely run a command line, send files, secure network services, and much more as a desktop client. You will be able to learn how to enable SSH on Ubuntu. With the capability to execute commands on a remote server SSH access into Docker containers is beneficial.
Activate SSH in Ubuntu
On some Ubuntu versions, the SSH server is not installed by default. Follow these steps to install SSH Ubuntu and enable SSH on Ubuntu:
Step 1: Launch the Terminal
Launch the terminal by pressing CTRL+ALT+T on the keyboard or by searching for the Terminal Icon in Ubuntu Dash.
Step 2: Command to Check if it has Already Installed
Use the SSH command listed below to see if an SSH server has already been installed on your computer before beginning the installation process:
ssh localhost

You must go through the SSH installation process if you receive the SSH “Connection Refused” warning.
Step 3: Update Package Lists on your Linux System
Update the package repository cache first before installing SSH with:
sudo apt-get update
Step 4: Here Complete the OpenSSH Installation
Complete the OpenSSH software installation by typing:
sudo apt-get install openssh-server
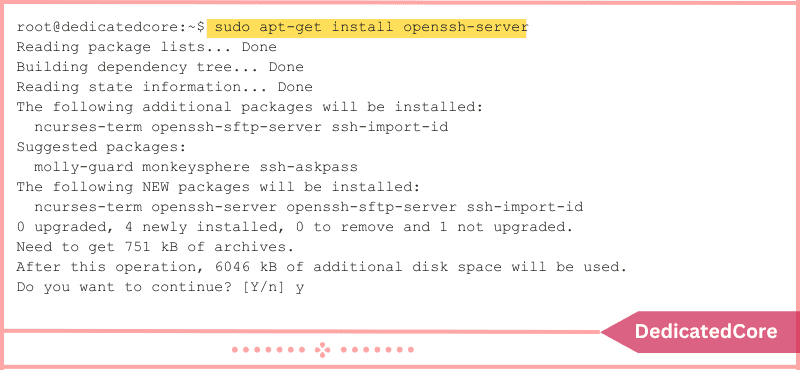
To approve the installation, enter your password when prompted and press Y (yes).
Step 5: Verify Installation
Use the command: to confirm that SSH is operational and that the installation was successful.
sudo service ssh status
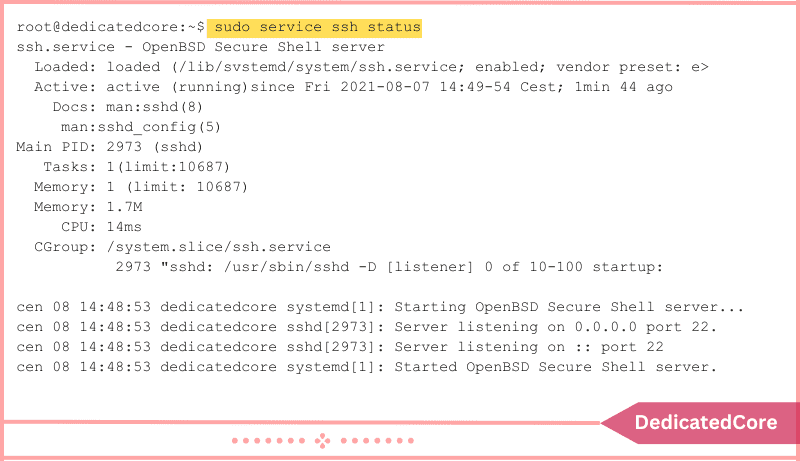
You are looking for the following confirmation message: Active: active (running). As a result, your remote machine can now take commands from your SSH client after you installed and activated SSH on it.
Step 6. Type q to get back to the Command Line Prompt.
SSH is used to Access a Remote Server:
You can now log into your remote workstation after completing the steps to enable SSH on Ubuntu.
1. Start a terminal by pressing CTRL+ALT+T, then enter the following command:
ssh username@public_IP -p22
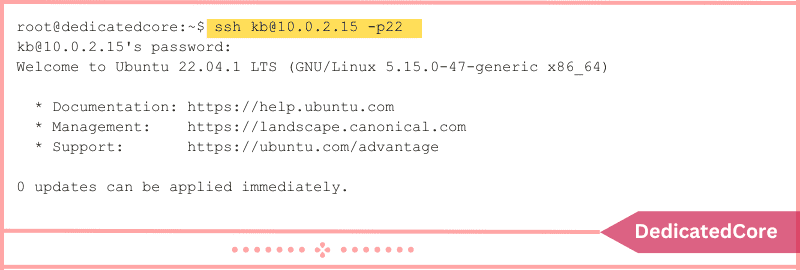
The username and IP address should be changed to those of the Ubuntu PC where SSH has been installed.
2. By entering the command: in the terminal, you can rapidly determine the IP address if you don’t know it.
ip a

This shows the computer’s public IP address where SSH was set up. You are formally logged into the server once you have recognized and entered all the information. You are permitted to safely control it from the convenience of your desk.
Options for SSH Configuration
It is possible to change the default SSH configuration settings. You can disable the root user, change the default port (usually a good idea as a preventive security step), or make other configuration changes.
Configuration File Editing
Once OpenSSH has been properly installed on Ubuntu, you can change its configuration file.
1. Use the following command to view the SSH configuration file:
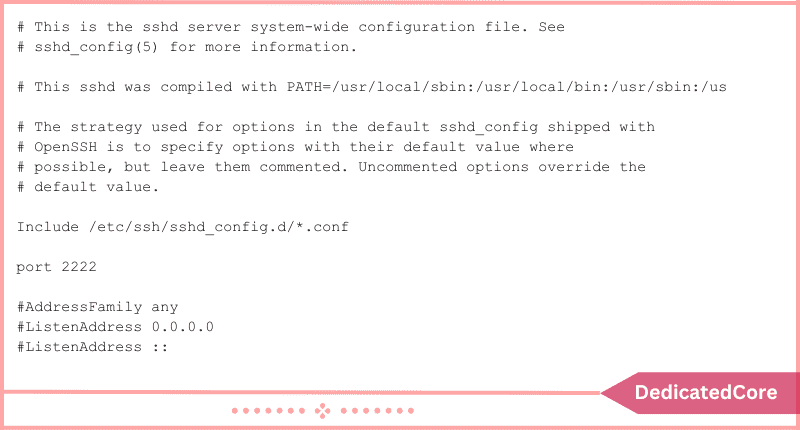
sudo nano /etc/ssh/sshd_config
2. After opening the file in Nano (or any other Linux text editor), discover the necessary changes and make them.
For instance, locate the line in which TCP port 22 is by default provided, uncomment the line, and replace it with TCP port 2222 to modify the port number to listen on TCP port 2222 rather than TCP port 22.
Turn off Root
Disabling remote root access is a crucial security measure. In this manner, security will be greatly enhanced and the root user cannot be remotely activated.
1. Locate the line that says PermitRootLogin_yes in the settings file and modify it to PermitRootLogin_no.
2. Use the subsequent command to restart the SSH service for the modifications to take effect:
sudo systemctl restart sshd.service
Create a Firewall
If you have chosen to alter the default port, you must set up your firewall to permit traffic through the chosen port. Let’s use Port 2222 as an example. UFW, Ubuntu’s built-in firewall configuration tool, can be set up using the following command:
sudo ufw allow from any to any port 2222 proto tcp
Some firewalls could demand that traffic be allowed to the SSH server’s public IP address.

On Ubuntu, How to Disable SSH
Run: to momentarily disable SSH on Ubuntu.
sudo service ssh stop
Launch the SSH service by:
sudo service ssh start
Following a Reboot, completely Disable SSH by:
sudo systemctl disable ssh
After restarting Ubuntu, Enable SSH by using:
sudo systemctl enable ssh
Wrapping Up with Enabling SSH on Ubuntu
Users can securely control their computers from a distance by enabling SSH on Ubuntu. You’ve successfully configured SSH access on your Ubuntu machine. By following the simple instructions provided in this guide you will understand how to enable ssh ubuntu. Always put security first by creating secure passwords. Avoid utilizing password-based authentication whenever you can. Maintaining the most recent versions of your system and SSH settings. For a detailed guide on using Rsync over SSH for efficient and secure file transfers, check out this step-by-step tutorial. It covers everything you need to know to get started with Rsync and SSH.
Now that SSH is operational, you can securely access your Ubuntu system from a distance. You may now activate SSH on Ubuntu by following the straightforward instructions above. You can now establish a trustworthy and secure protocol with a distant device. To begin, log on to your computer and use the command prompt to execute administrative chores.
Frequently Asked Questions (FAQ)
1. How do I Enable SSH on Ubuntu?
To enable SSH on Ubuntu you should follow the given steps:
a. Install SSH server using
sudo apt update && sudo apt install openssh-server
b. Enable the service
sudo systemctl enable ssh
c. Start the Service
sudo systemctl start ssh
2. What Port does SSH use by Default, and Can I Change It?
SSH uses port 22 by default. Transforming the port directive /etc/ssh/sshd_config you can change it and restart the SSH service.

